

Chalking Paint Explained: Why It Happens and How to Stop It
Definition
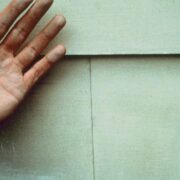
Chalking paint shows up as a powdery layer on the surface. You might notice it when you brush your hand along a wall and see a faint dust left behind. It often appears after years of sun, rain, and general wear, and it’s one of the most common signs that paint is starting to break down.
What Causes Paint to Chalk?
If you’ve ever asked yourself, Why is my paint chalking, the answer usually comes down to exposure and materials. Over time, certain conditions wear away the paint film, causing it to break down and leave a dusty residue. Some of these issues develop slowly, while others result from avoidable mistakes during application.
Here are the most common reasons for paint chalking:
1. Sunlight and UV exposure
Constant sun exposure gradually weakens the paint. UV rays break down the binder that holds pigment in place, causing loose particles to rise to the surface. Lighter colors tend to show it less, but all paints eventually degrade if left unprotected.
2. Moisture damage
Excessive rain or humidity can wear down painted surfaces, especially in shaded or poorly sealed areas. Over time, moisture can seep in, undermining the paint’s structure and triggering the release of that chalky layer.
3. Use of low-quality paint
Not all paint is built for long-term durability. Lower-grade products often lack the ingredients needed to resist sun and weather exposure. These paints break down more quickly and lead to visible surface changes, such as chalking.
Using high-quality paint from the start can help prevent this.
4. Over-thinning the paint
Diluting paint too much—or spreading it too thin during application—reduces its protective strength. Thin layers wear out faster under the sun and moisture, exposing the surface and leading to breakdown.
5. Lack of primer on porous surfaces
Skipping primer can cause paint to sink unevenly into porous surfaces like wood, brick, or concrete. Without that proper bond, paint has a harder time holding up, which often results in early chalking and a patchy finish.
Where Chalking Happens: Interior vs. Exterior Walls
You’ll usually spot chalking on outside surfaces that face the weather year-round. But it can also show up inside the home.
Exterior Walls
Outside, walls deal with rain, harsh sun, and changing temperatures. These conditions slowly break down the surface, leaving behind that familiar dusty layer. It’s most noticeable on older paint or finishes that weren’t made for long-term exposure.
Interior Walls
Chalking on interior painted walls isn’t as common, but it happens. Bathrooms are a good example. Warm air and steam can wear down paint faster than expected. Sunrooms or spots that face direct light through windows can also start to fade and chalk over time.
If you’ve seen paint chalking on interior walls, you’re probably looking at areas where the paint aged faster than usual. It might not be dangerous, but it can look dull and feel messy.
A chalking wall indoors can mean the paint wasn’t right for the space. Some finishes can’t handle humidity or heat. Others might have skipped the primer or weren’t sealed well.
Wall chalking inside or out is your clue that the paint needs attention. A fresh coat alone won’t solve it unless you fix the surface first.
How to Check for Chalking
There’s a quick way to find out. Just rub your fingers or a dark cloth across the surface. If you see a dusty, powder-like film come off, that’s chalking.
The next step is to determine the extent of the problem. Light chalking usually means the surface is still in decent shape. You can often rinse or scrub it off and paint right over it. But if the residue is thick or keeps coming back after cleaning, the paint has started to break down.
Severe chalking makes it more difficult for new paint to adhere. At that point, you’ll need to remove the residue completely and treat the surface before doing anything else. The more powder you see, the more prep you’ll need.
For more painting techniques, visit our how-to guides.
How to Fix Chalking Paint (Step-by-Step)
Here’s a simple step-by-step process to help you fix chalking paint:
Step 1: Test the Surface
Start by wiping the wall with your fingers or a dark cloth. This helps you see how much chalk comes off and what level of cleaning is needed.
Step 2: Clean Based on Severity
Light Chalking
If the surface only has a mild dust layer:
- Rinse it with water from a garden hose
- Scrub gently with a sponge or brush and mild detergent
- Let the surface dry completely before painting
Moderate Chalking
If you see a heavier layer that doesn’t wash off easily:
- Use a wire brush or light sanding to remove loose powder
- Rinse with a strong spray of water
- Check again to make sure the chalk is gone before moving forward
Heavy Chalking
If the chalk is thick or the paint feels unstable:
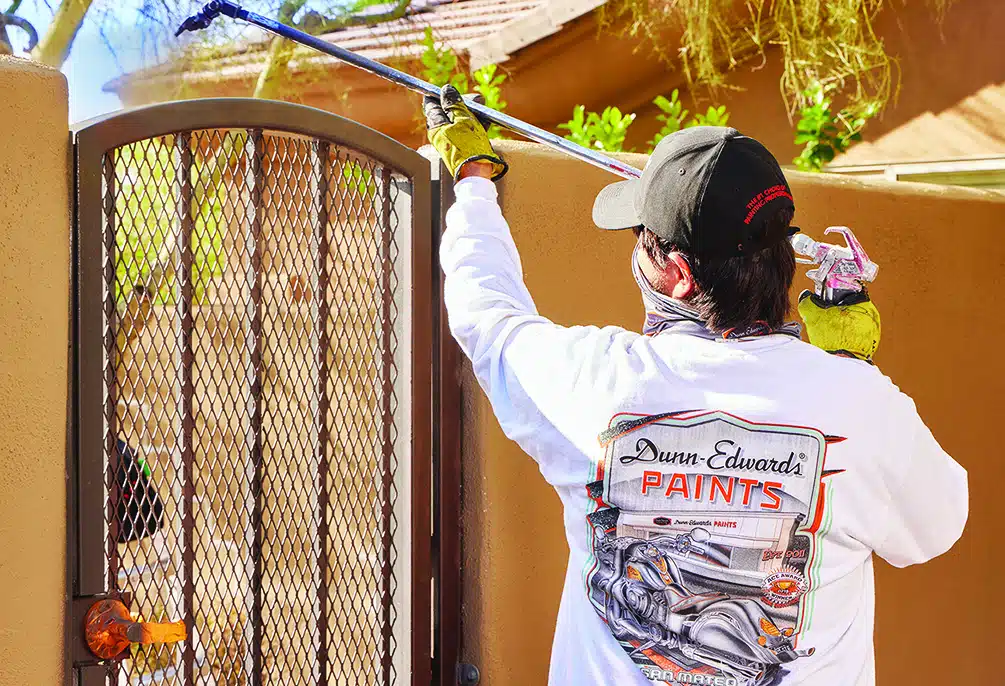
- Use a pressure washer or sandblasting to remove all residue
- Be thorough—leftover chalk can cause peeling later
- Let everything dry completely
Step 3: Prime and Paint
- If some chalk remains but the surface is sound, use a penetrating additive in your first coat of paint to help it stick
- If the surface is bare or still powdery, apply SURFACO Select as a chalk binding primer
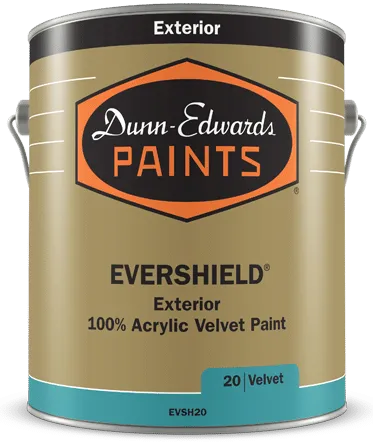
- Finish with EVERSHIELD exterior paint, which resists future chalking better than standard finishes
For more detailed product advice or help choosing the right prep method, check out our Paint Problem Solver Guide.
How to Prevent Chalking in the Future
1. Use UV-Resistant Paint
Look for high-quality finishes designed to stand up to UV exposure without fading or breaking down.
2. Use the Right Primer
Primer helps the paint bond properly and prevents early surface wear. Skipping primer often leads to chalking later on.
3. Maintain the Surface
Give painted surfaces a gentle rinse every so often, especially if they’re exposed to dust, sun, or rain. Cleaning off buildup helps your paint last longer and keeps chalking at bay.
4. Choose 100% Acrylic Paint
If you want lasting results, go with a premium 100% acrylic paint. Dunn-Edwards exterior paints are designed to resist weathering and keep your finish strong for years.
Product Recommendations
Primer
Desired Finish
Recommended Primer
Masonry
EFF-STOP® Premium Interior/Exterior Masonry Primer Sealer
Masonry
SUPER-LOC® Specialty Interior/Exterior Bonding Primer
Exterior
Surface
Recommended Product
Flat
EVERSHIELD® Exterior 100% Acrylic Flat Paint
Velvet
EVERSHIELD® Exterior 100% Acrylic Velvet Paint
Eggshell
EVERSHIELD® Exterior 100% Acrylic Eggshell Paint
Satin/Low Sheen
EVERSHIELD® Exterior 100% Acrylic Satin/Low Sheen Paint
Semi-Gloss
EVERSHIELD® Exterior 100% Acrylic Semi-Gloss Paint
Gloss
EVERSHIELD® Exterior 100% Acrylic Gloss Paint
Wrap-Up and Contact
Chalking might seem like a small issue, but it’s often the first sign that your paint needs attention. Catching it early can save you from bigger problems down the line.
If you’re unsure what to do next or need help choosing the right solution, our professional team is here to help.
Product Recommendations
Primer
Desired Finish
Recommended Primer
Exterior
Surface
Recommended Product
Satin/Low Sheen
Please note that these suggestions are provided as a service to you. We are unable to guarantee or be responsible for the results obtained by these procedures. If you have additional questions, ask any of our expert sales associates.