

How to Paint a Wood Gate
Cole Schaefer, a professional painter, shows you how to properly prep and paint your wood gate, so it ends up looking its best
View Transcript
| Video/Text on-screen | Copy |
|---|---|
| Opening- Dunn-Edwards Logo | [Music] |
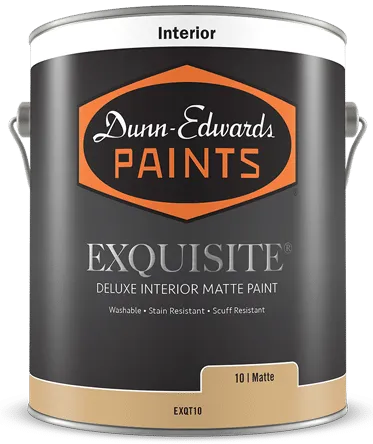
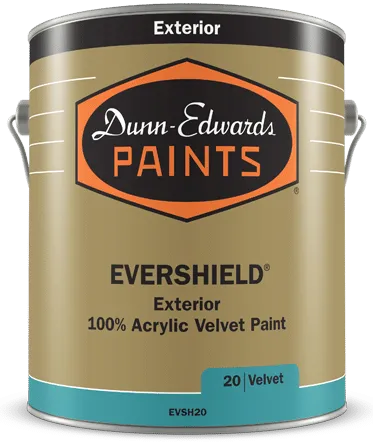
| Man Talking | Hi. I'm Cole Schaefer, professional painter and welcome to Dunn-Edwards paints “how to paint” video series. You know, freshening up the paint on a gate is a great way to give the exterior of your home a mini makeover. It will give your house and yard a fresh new look and feel with minimal effort and money. Now, in order to have a freshly painted gate all you need are some basic painting tools, high-quality paint, and a few hours to spare. In this video I'll show you how to properly prep and paint your wood gate, so it ends up looking its best. Now, when starting a painting project, avoid using any old paint that's been lying around in your garage for a long period of time as this will not provide the quality finish you're looking for. Instead you'll want to select the right type of paint specifically for your gate. In order to do this, you'll need to take into consideration the type of gate, whether it's made with wood or metal, and its current condition. So, let's take a look at this gate. This is a redwood gate, that's painted with a water-based paint. Now, it's an okay condition but it does have some paint peeling and cracking. So, look at this area around the hinge, the wood has rot, so it will need to be replaced before we can begin painting. If your gate is in better shape and doesn't have any cracking or peeling paint, then all you need to do is sand it lightly to promote good adhesion and apply two coats of a high-quality water-based paint and you're done. But if your gate was previously painted with an oil-based paint, then you'll need to sand the gate and prime the gate before applying two coats of paint. If you're unsure of what type of paint is currently on your gate put some rubbing alcohol on a cotton ball and rub it over the paint on your gate if the paint wipes off into the cotton ball it's a water-based paint if the paint doesn't wipe off it's an oil-based paint. So, okay since this gate needs a little TLC we're going to replace the hinge and prep the surface for priming. |
| Laying down cloth | Start by laying down a large piece of plastic or canvas drop cloth underneath the gate. Try to use a piece that's large enough to cover both sides of the gate so that you don't have to move it when you switch sides and place some heavy objects on top of the plastic or canvas drop to keep it from blowing around. |
| Man Talking | So, before we begin priming we need to create good adhesion for our topcoat. Start by removing any peeling paint by using a paint scraper then use sandpaper to feather or smooth out any real damaged areas. Next, lightly sand the entire gate if any patching is required. Here's a tip- it's best to sandwich your patching compounds between coats of primer, this encapsulates the patching compound and protects it from moisture damage. So, start by priming the entire gate, then after the paint is dried patch any damaged areas. Lightly sand the patches and then prime the patched areas once again. Now before you start painting you want to consider taping off the sides of the house, the fence, or any other structure such as the brick or the walls. Also, be sure to mask off any hardware, this way you won't have to worry about painting anything but the gate itself. Now, I like to use Dunn-Edwards premium orange masking tape as it provides a clean straight edge, no bleeding through, easy one-day removal, and is a heck of a lot cheaper than other premium tapes. Now that the gate is prepped here's another tip, before painting avoid painting and direct sunlight if possible, wait for a time of day when the area to be painted is in the shade. Why? Well heat from the Sun will increase the temperature of the surface, this surface temperature along with the ambient heat will make the paint you're applying dry faster and limit the amount of time you have to create a nice finish. Now, you want to use a primer specifically for the surface you're painting. Since this is a redwood fence I recommend using a primer that can block out tannin stains, such as, Dunn-Edwards EZ-PRIME Premium, which is an exterior acrylic primer that provides excellent enamel holdout and tannin stain resistance on woods such as redwood and cedar which are prone to tannin staining. |
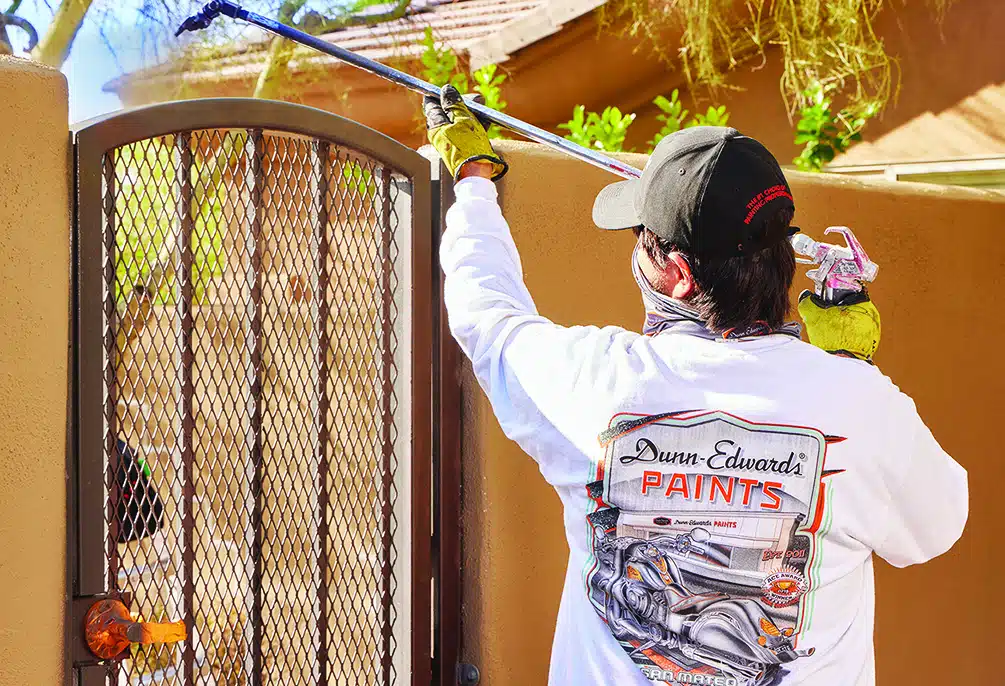
| Applying primer | Apply the primer using a paintbrush which is more effective than a roller for spot painting. Hold the brush as you would a pencil for maximum control to prevent fatigue. Now allow the primer to dry completely before applying the paint. |
| Man Talking | Because today's water-based paints dry quickly use a paint roller to help you apply the paint over a very large area faster, so you can keep a wet edge and brush out the paint for a smoother finish. The approach for painting this skate is to paint the frame parts. |
| Painting gate | First use a brush to paint the hinge and latch sides of the gate. |
| Man Talking | Then get your roller cover ready to paint the door itself. Start by cutting in all the edges around the gate and around any hardware or hinges that are not removed. Now use your roller to apply the paint over the entire door. Once all the paint is applied, go back and use your brush to get a smooth finish. Work as quickly as possible as the paint will dry. Now touch up any pieces of hardware or any other spots that need it with a paintbrush after you've finished painting the rest of the gate. Now be sure to check for any paint drips and smooth them out with your brush before they have a chance to dry. Once the gate is completely dried, remove the masking tape and you're done. Hopefully this video will inspire you to put a fresh coat of paint on your gate knowing how easy it is to do. To learn more about pain or painting watch other how-to videos at Dunn-Edwards dot-com forward slash videos for all of us here at Dunn-Edwards paints I'm Cole Schaefer thanks for watching and happy painting. |
| Closing- Dunn-Edwards logo | [Music] |